

Couple the CoolPix camera to your microscope
system!
Mounts, relay lenses and adapters available for most CoolPix cameras to
work with most microscope systems. For more information, call Capra at
(508) 650-9700
 Mounting the CoolPix into an eyepiece tube
- Insert the Compact Flash Card into the Coolpix, with the camera
power off.
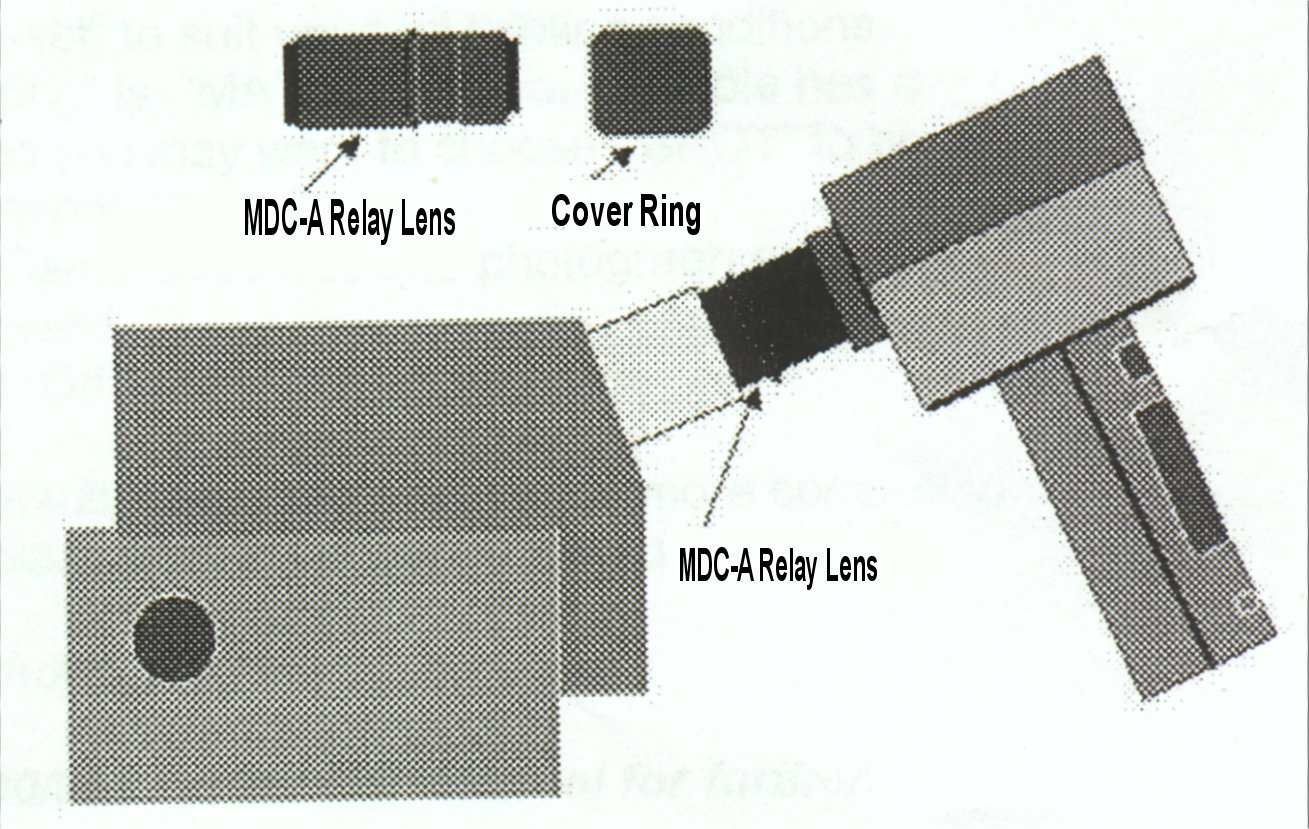
- Remove the cover ring from the relay lens by loosening the
three small setscrews
- Attach the MDC-A relay lens to the Coolpix lens. Over-tighening
the adapter may damage the threads of the Coolpix lens.
- Remove an eyepiece from the microscope and insert the MDC-A
adapter in place of the eyepiece.
- Swivel the LCD screen to a comfortable viewing angle.
- Attach recommended EU-1 Remote Cord (for Coolpix 990 and 995)
(Coolpix 950 uses a cable release with adapter).
- Follow instructions for Coolpix Settings for Microscopy (To
see instructions, click here
).
 Mouting the Coolpix to a microscope trinocular photo tube
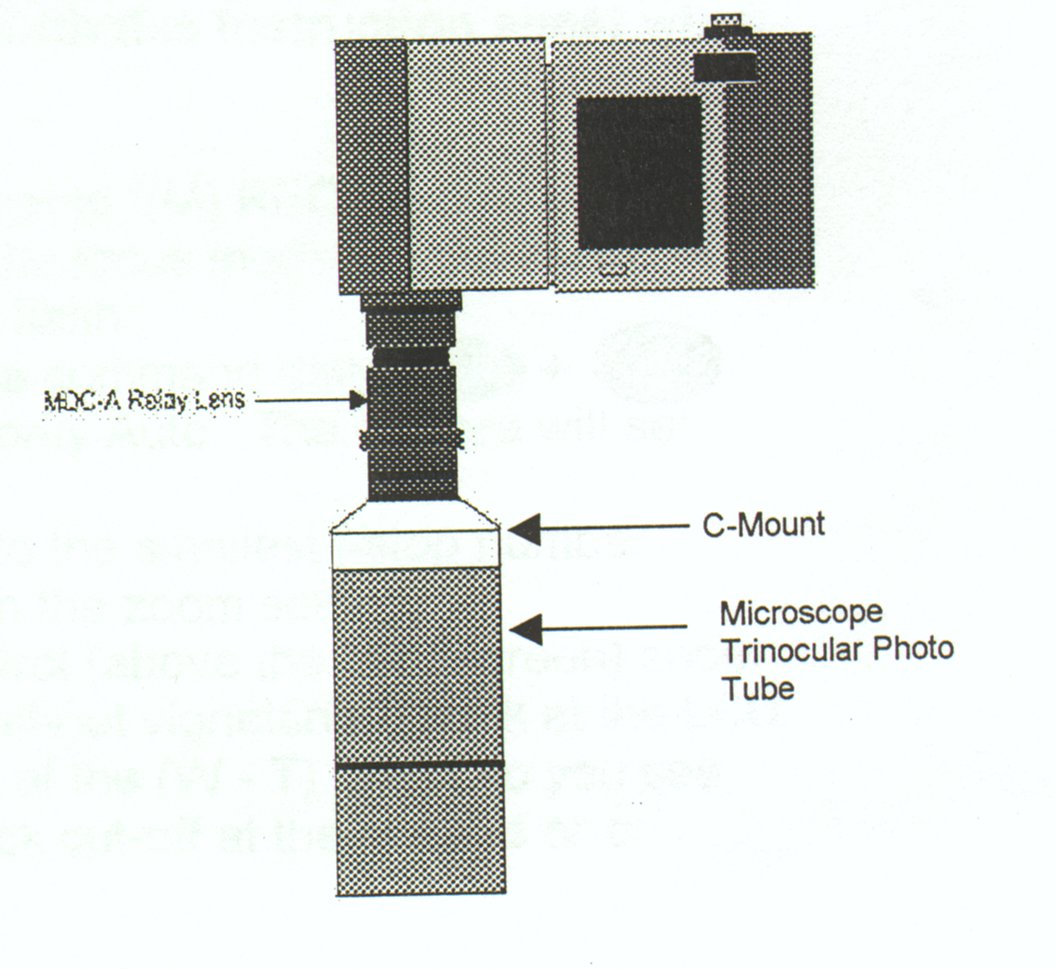
- Insert the Compact Flash Card into the Coolpix, with the camera
power off.
- Carefully thread the MDC-A Relay Lens onto the Coolpix lens.
Over-tightening the adapter may damage the threads of the Coolpix lens.
Carefully thread the C-mount onto the MDC-A Relay Lens.
- Attach the C-mount adapter onto the microscope's trinocular
port. Turn the camera so the LCD panel faces out (see diagram). Tighen
C-mount into place.
- Adjust the angle of the LCD monitor for easy observation.
- Attach the recommended EU-1 Remote Cord (for Coolpix 990 and
995) (Coolpix 950 uses a cable release with adapter).
- Follow instructions for Coolpix Settings for Microscopy (To
see instructions, click here
).
Coolpix Settings for Microscopy
- Turn Camera on by setting the Select Dial to "(M) REC" position.
- Using the "M-FOCUS" button, change the focus made to "INFINITY
 . This will cancel the "AF" electronic flash.
- Holding the "Mode" button down, use the command dial
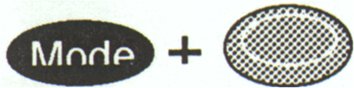 to set the aperture to "A" - Aperature Priority Auto.
The camera will set shutter speed for best exposure.
to set the aperture to "A" - Aperature Priority Auto.
The camera will set shutter speed for best exposure.
- Rotate the command dial to set the "F" to smallest f-stop
number (approx. f2.5 to f4.0 depending on the zoom setting).
- Using the Wide-Tele (W - T) zoom control (above the LCD screen)
zoom in until the image fills the LCD screen without vignetting. (Look
at the LCD screen. You should be about mid-point of the (W - T) range so
you can see the maximum field of view without a black cut-off at the corners
or a circular image.
For more information, call Capra at
(508) 650-9700
Telephone: (508) 650-9700